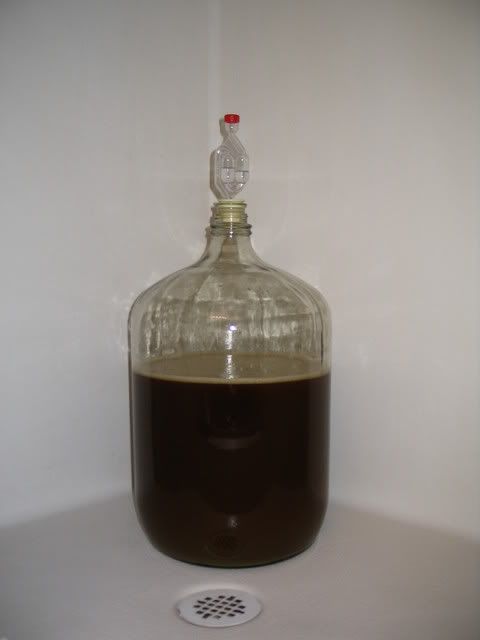
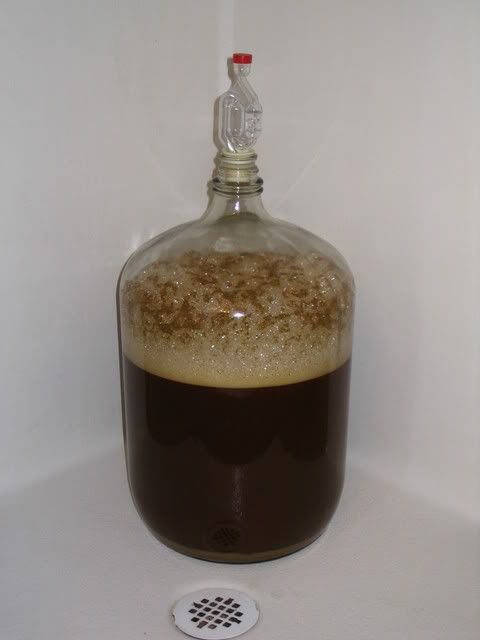
Showing posts with label Homebrewing. Show all posts

Wednesday, April 16, 2008

Beer: Tripel Finally Bottled

Last night we finally bottled our tripel. It sat in primary fermentation for about 3 weeks and then secondary fermentation for about 2 weeks. Now our tripel is in for a third round of fermentation (how appropriate) through bottle conditioning. The sample I took last night was just as good as the one I took a couple weeks ago. I can't wait to try it once it's properly carbonated.

Here's what my once-tidy homebrewing storage nook looks like now:

It's starting to take over the bathroom! Of course, the biggest item there is ALL THE BEER, a little more than three cases right now. That's what pipelining homebrewing operations will do. I don't think I'll be doing that again anytime soon. In fact, I'm not going to brew any more until I put a dent in that pile! Unless I go on a bender, it's going to take a while to drink 49 bottles of 9.3% abv tripel.

I see some tripel gifting in my future....

Monday, March 31, 2008

Beer: Update on The Grand Caw

It took much longer than I thought -- 16 days to be exact -- but the tripel we're brewing finally hit the 2-3 minute bubbling range in the middle of last week. According to the directions, that's when the beer was supposed to be racked. Of course, I was sick at the time and didn't want to risk contaminating the beer, so it had to wait a little longer. Throw in a little procrastination and I didn't end up racking it until last night when the bubbling rate was all the way up to 6 minutes and it had been fermenting for 20 days! At that point, I probably could have just bottled it. My bottles and bottling equipment weren't cleaned or sanitized, though, so I just went ahead with the racking.

In the middle of the racking, I pulled a little sample off to take a gravity reading. The OG was 1.082 and it's at 1.012 right now. The directions indicate a final gravity of 1.010 to 1.015 so I definitely could have just bottled last night. Using those numbers, you can make an estimate of the alcohol content of your beer. To get alcohol by weight, you multiple the difference in gravity (0.07) by 105, which gives you 7.35%. Alcohol has a different weight than water, so to convert alcohol by weight to alcohol by volume (abv, the % alcohol measurement you see on retail bottles), you multiply by 1.25. That means The Grand Caw is sitting at a healthy 9.2% abv already. Woah.

After taking the gravity reading, naturally I took a sip (we don't waste no beer 'round here). Dios mio, man, this is going to be one tasty beer! The room-temperature, uncarbonated samples I tasted from my other beers honestly didn't taste all that great, though they did hint at the final taste. The fact that the beer tastes this good and isn't even remotely in its finished form has put my expectations through the roof. Here's hoping those expectations are met.

Monday, March 24, 2008

Beer: Digby IPA Finally Bottled!

After a wonderful Easter Dinner over at Rod and Jess's place last night, we jetted home to finally bottle our Digby IPA, homebrew batch #2. You may remember that we racked this beer almost two weeks ago! That's a big longer than I meant it to sit, but Charlie Papazian mentions in The Complete Joy of Homebrewing:

Quite honestly, for one reason or another, I often don't get around to bottling for 4 to 6 weeks. So it is important for me to use closed fermentation and a second fermenter. I'm quite pleased with my results.

I assume I've basically moved some of the aging time from post- to pre-carbonation. I hope my results are good. Here's a look at the Digby working up some carbonation:
The Grand Caw is lonely without Digby nearby, bubbling sweet nothings:
As of tonight, this beer has been steadily fermenting for 14 days. The first two beers I made only took 5 or 6 days on primary fermentation. The directions indicate that it should be racked when the air lock bubbles at a rate of 2 to 3 minutes. I timed it at about 2:10 tonight, so we'll probably rack it tomorrow.

Thursday, March 13, 2008

Beer: WillCo Homebrewing Company Presents The Grand Caw

The most recent WillCo brew came to life Monday night. This time we went big and decided to brew a Belgian Tripel! We're still pretty new, so we decided to stick with kits, though this time we switched over to a Great Fermentations house kit called Trippple End. It's an imitation of La Fin Du Monde, a tripel that's by far my favorite beer from Canadian brewery Unibroue (YOU-ni-brew).

This kit resulted in a wort with an original gravity (a measurement that roughly indicates available fermentable sugar) of 1.082. The alcohol content of the final beer can be calculated by looking at the difference in original and final gravity. In a rough sense, that difference indicates the amount of sugar consumed by the yeast, which indicates the amount of alcohol produced. The instructions state we should see a final gravity of 1.010 to 1.015, which, if my calculations are correct, will produce a beer in the neighborhood of 9% abv. WOOOO-EEEE!!

As usual, here are some photos of the experience. Unfortunately, my camera batteries died in the middle of the process, though to be honest, the final steps to making this beer weren't much different than my previous two batches. The only difference was that we used a yeast starter instead of dried yeast to inoculate the wort. See my earlier post about making a starter for this beer.
The fuel necessary to produce a tripel.
(Just kidding! These were actually enjoyed across many evenings.)

The Ingredients.
The rock candi sugar typical in Tripels.
Rehydrated irish moss (a fining agent).
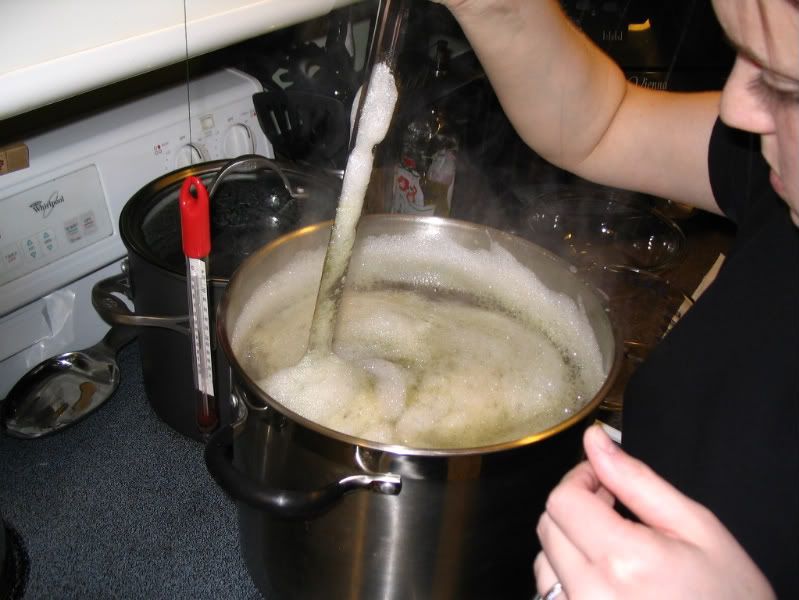
For whatever reason, dry malt extract
foams a lot more than liquid malt exact.
(The camera died at this point, but we basically boiled this
for an hour and added the hops at the appropriate times.)

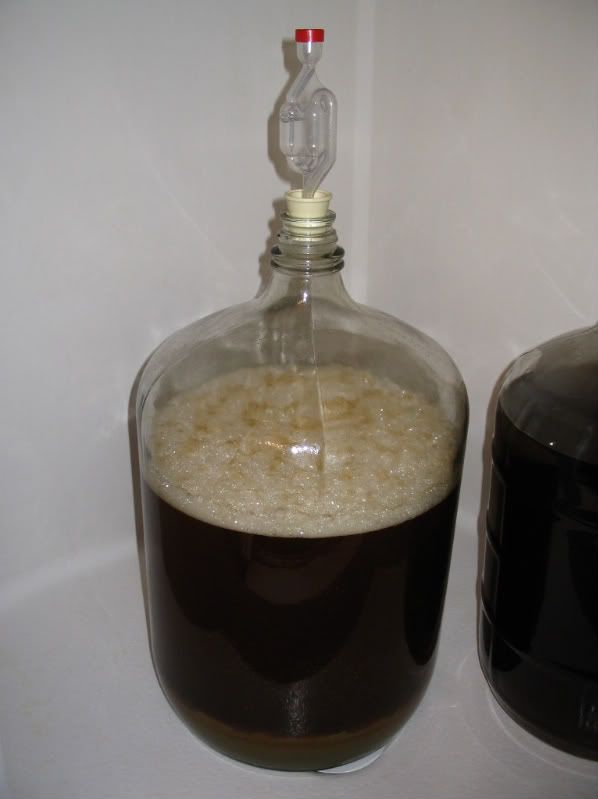
Hour 11, working up a good fermentation next
to the Digby IPA, now nearly dormant.
Hour 13
Hour 16

Yesterday, about two days into the fermentation, the yeast were having a crazy party on the inside of the carboy. Things were churning like mad and the airlock was bubbling more than once a second, by far the most active beer we've yet produced. I hope the final beer produces a party as rockin' as that!

Monday, March 10, 2008

Beer: Setting Up the Homebrew Pipeline

Last night I did a bunch of little tasks to prepare for my next homebrew. This beer will be notable to me for two reasons: one, it's my first really high gravity beer (original gravity expected to be around 1.085) and two, I'm going to be pipelining my brewing operations! That is, my Digby IPA is being moved to a secondary fermenter to make room for the new beer to ferment in the primary fermenter. Both will be fermenting at WillCo Homebrewing Company at the same time.

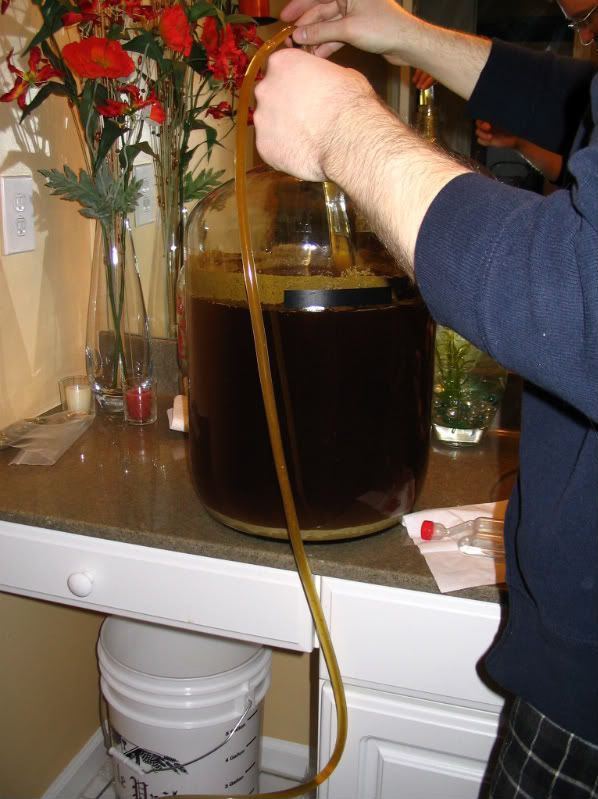
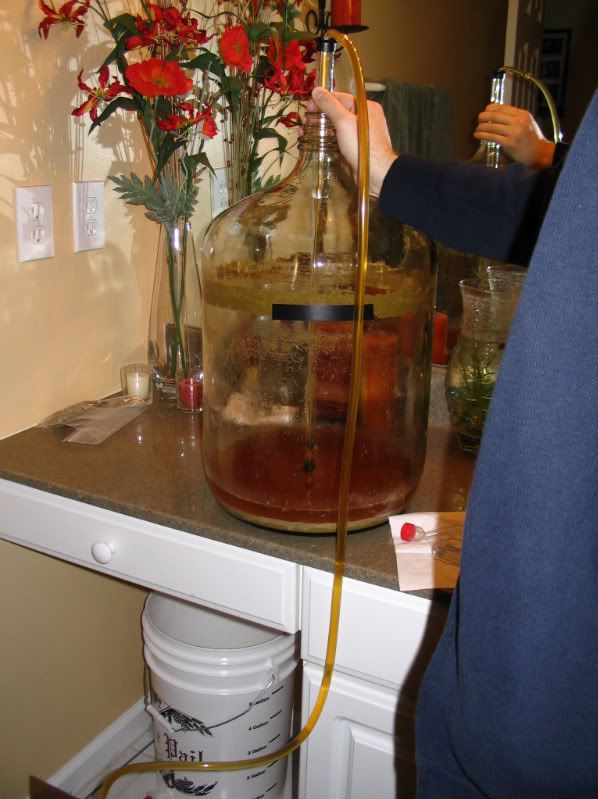
There were two main things I did last night. The first step was racking the IPA from the primary fermenter (6.5 gallon carboy) to the secondary fermenter (5 gallon carboy). Racking is a process of siphoning beer (or wine) out of one tank into another tank, leaving the sediment, called trub, behind. This does two things. First, it takes the beer off the inactive yeast at the bottom of the carboy. The longer you ferment, the less fermentable sugar is available and the more yeast becomes inactive and settles to the bottom of the tank. Eventually, the yeast can start to break down and can create off flavors in your beer.

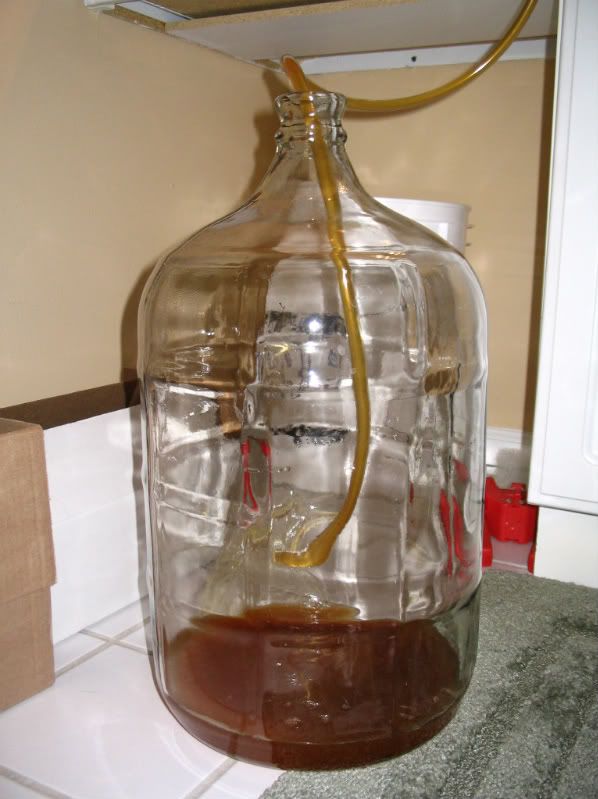
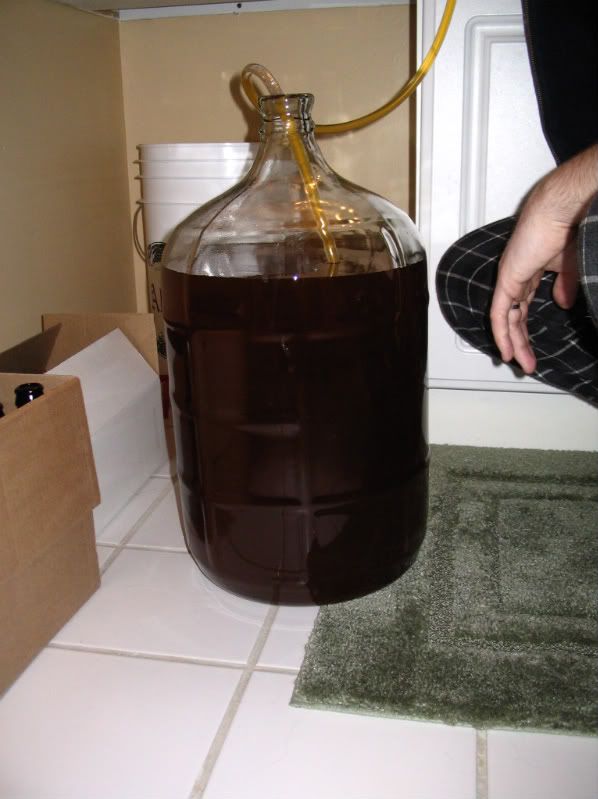
Secondly, racking helps improve the clarity of your beer as you leave behind the trub that had settled in the primary fermenter. I plan to let the IPA ferment for about another week in the secondary, letting the remaining yeast work on whatever sugars are still available and allowing some more time for particles and junk to settle out of the beer. Here are a couple pictures of the racking process:
Note the white-ish layer of trub at the bottom of the carboy.Leaving a little space for the second beer.

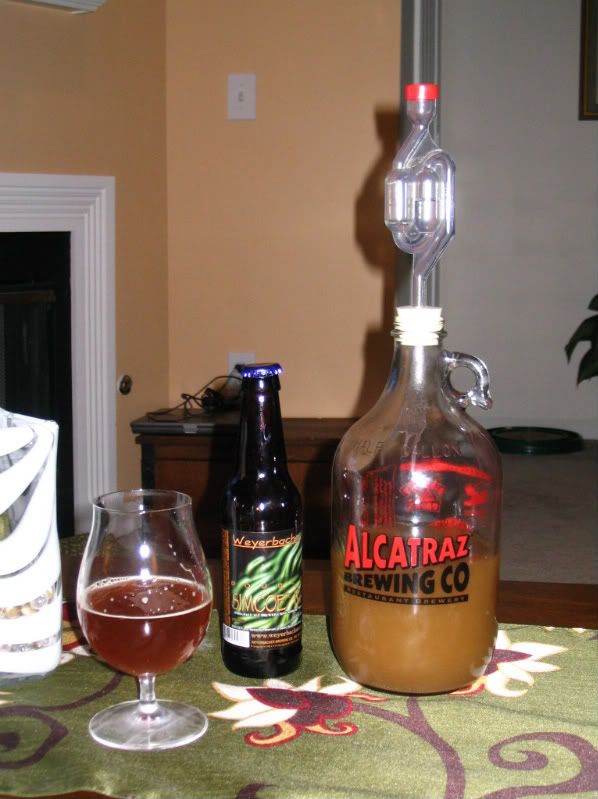
The second thing I did last night was create a starter for my high gravity beer (the style is a secret for now). A starter is basically a mini wort with a small portion of the malt to be used in your recipe. The idea is to get the yeast you're going to use in the main fermentation used to the sugar you're going to use while also building up the population of yeast cells. Initial yeast populations are usually well below the levels that will be active at the peak fermentation point. Using a starter basically kick-starts the fermentation when you add it to the full wort.

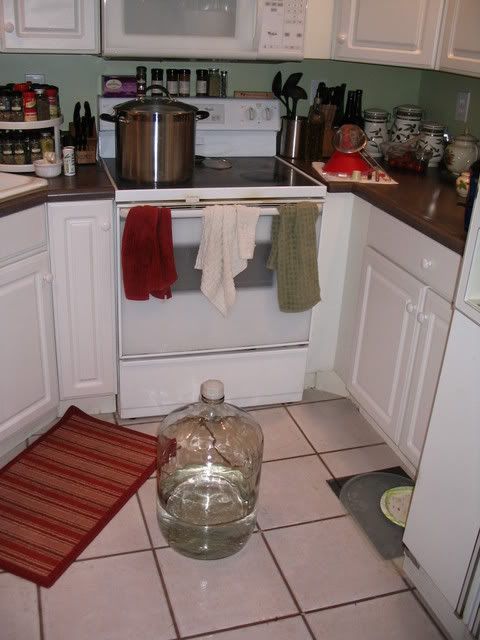
In addition, high gravity beers have a much higher initial concentration of sugar than regular beer (this results in much higher alcohol content). Putting inactive yeast directly into a high gravity wort can apparently "shock" yeast cells and even kill them (the science behind this is a bit of a mystery to me, so I apologize that I can't expand on this). Here's a picture of our little starter, prepared in an Alcatraz growler:

I should have some more pictures later this week of homebrew Batch 3.

Tuesday, March 4, 2008

Beer: WillCo Homebrewing Company Presents Digby IPA

This past Saturday -- thanks to my first free weekend in a month -- I finally got around to brewing up my second batch of homebrew. Like my first batch, this is also from a kit, a birthday gift from one of my friends. This time I'm brewing an IPA that I'm naming Digby. IPA is by far my favorite style of beer, so I decided to name my first homebrewed IPA after my blog (sort of).

Here's the process in pictures (I attempted to capture some different aspects this time).
The Ingredients
Steeping the crushed Crystal and Victory malts. This is done at
160-170F -- NOT a boil -- hence the need for a thermometer.
Soco (top) and Leelu (bottom) wonder what that strange
smell is coming from the kitchen (Cosmo must be hiding).
No, these aren't rabbit turds....they're hop pellets! Hop pellets
are compressed hops that ship better and keep longer.
Adding hops to the boiling malt. (Watch out for boil-over!)
The hops rise to the surface at first....mmmmmm....
....and then settle into the mixture.
We were prepared with more ice this time. The wort got down to
about 77F when the last of the ice disappeared. Just about perfect!
After transferring the wort to the carboy, you carefully add the yeast.
Then you gently rock the carboy to mix everything together, put
an airlock on and put it to bed. It's got lots of work to do.
Hour 0
Hour 15
Note the electrical tape line I made to indicate 5 gallons this time.

Friday, January 25, 2008

Beer: Notes on My First Homebrew

My first homebrew finally finished aging on Thursday (see my brother's review below). It went through two weeks of aging for proper carbonation and another three weeks recommended aging for "best taste" according to my kit's directions. I decided to name it WillCo, a smashing together of my last name with that of my lovely wife and brewing assistant.

The kit I used to make this beer is produced by Brewer's Best and is called California Imperial Pale Ale. They describe the kit as their take on the popular Arrogant Bastard Ale. I had one during the aging process directly next to an Arrogant Bastard. While mine isn't quite as good, the fact that it's even in the same ballpark is amazing to me! There are some subtle differences in the hop character and there's something a little funky on the finish that isn't there in Arrogant Bastard. Maybe just the difference between the water in San Diego and our lovely water supply in Indy.

I started out with 38 12oz. bottles and two 22oz. bombers but somehow through gifting at Christmas and tasting one here or there through the aging process, I'm left with slightly less than half that number. My initial number of bottles was a bit low, as 5 gallons should produce about 53 12oz. bottles. Probably lost some volume to evaporation while boiling the wort and taking gravity readings. Plus, there isn't a mark on my carboy for 5 gallons so if I had tried to correct the volume, it would have been a complete guess. I'll have to fill it with 5 gallons of water at some point and make a big permanent marker line on it for the future.

One side-effect of the low yield is that I inadvertently used too much finishing sugar during bottling. That is, I used the entire packet that came in my kit. Finishing sugar is consumed by the remaining yeast in a bottle to produce CO2 that carbonates the beer. Unfortunately, the amount in the packet is intended for 5 gallons of beer when I was closer to 4 gallons. That means there was extra sugar in each bottle which produced extra CO2 and slightly over-carbonated beer. When I opened a 22oz. bottle, I could only pour about half a pint before the head was almost overflowing. Luckily, the 12oz. bottles aren't nearly as bad and I only used two 22s this time.

My plan is to start Batch #2 this weekend. I previously thought I'd do a stout but when I think about the time to ferment, bottle and age a stout, I probably won't be drinking it before the spring! By then I'll probably be thinking about drinking something different....maybe an IPA?

Beer: WillCo -- A Coming of Age Ale

Today we've got another guest poster, my younger brother. He's providing a thorough review of my first homebrew, named WillCo, which just finished aging yesterday. I'll have another post later on with some personal notes about the beer.

Beer: WillCo

Brewed by:

WillCo Homebrewing Company
Indiana, United States

Style / ABV:

American Strong Beer / Plenty (7%?)

Poured from a 12oz bottle (with a duct tape label) into a pint glass. Batch #1.

A: Pours a deep caramel color under two fingers worth of white head which diminished quickly. Minimal lace, no retention (although that may be my fresh-out-of-the-dishwasher glass, which I forgot to rinse).

S: Lots of toasty goodness. Seriously, I smell toast. There’s plenty of sweet coffee aroma as well.
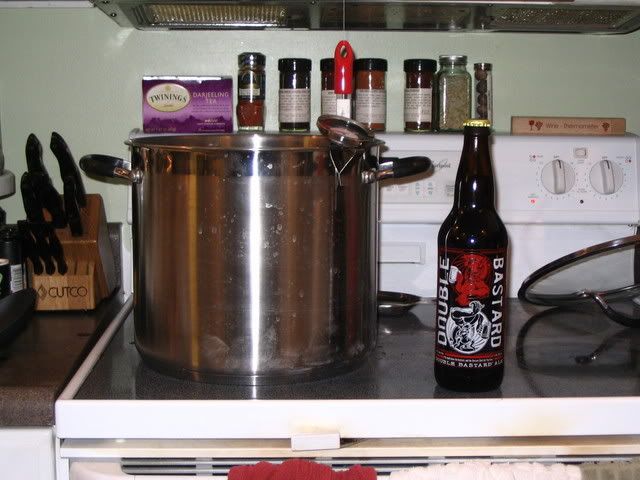
T: The initial taste at the front of the mouth is fairly sweet, but is quickly dominated by a roasted nutty/caramely/coffeey flavor on the sides and back. Quite a bit more carbonation than in previous tastings, which seems to balance the sweetness well. There seems to be a distinct lack of the unmistakable home-brew after taste – big plus!
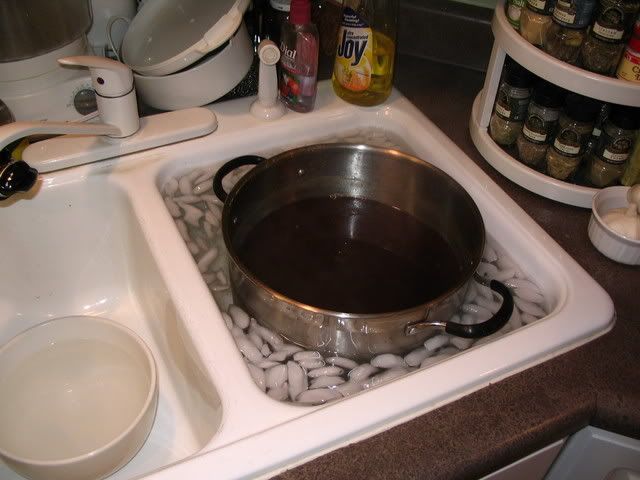
F: medium-bodied with lots of activity. The ending feel is roasted and bitter, which certainly invites the next sweet-starting sip.

D: I fear the home-brew headache, so I haven’t had more than 1 bottle per sitting.

I like this beer, a lot! Very respectable for your first go around. I look forward to Batch #2 with great anticipation.

Reviewed on 1/24/2008 10:45PM

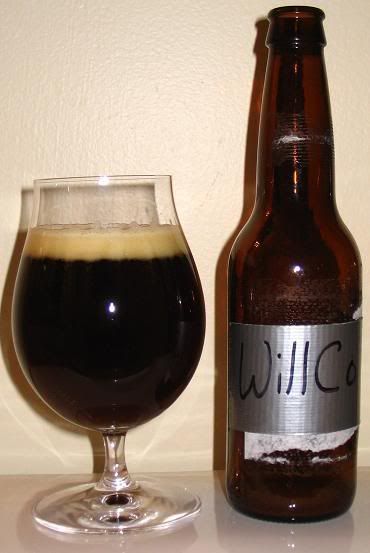
Here's a picture of my pour from last night, with one of my duct tape labeled bottles!

Wednesday, December 12, 2007

Beer: The First Homebrew

On Monday night I triple-checked my instructions, cracked open a Two Hearted Ale and plunged into making my first homebrew. It wasn't really that hard, just very time-consuming. I thought it was going to take about two and a half hours and it ended up taking almost four by the time I put the baby to sleep. And my hands were dried and cracking by the end because of my obsessive hand washing. All in the name of homebrew!

In terms of timing, the most surprising step may have been how long it took to return the pot to boiling after adding the malt. I didn't time it exactly, but it seemed like it took almost as long as getting the water to the first boil. Or maybe it just seemed that long because I was being obsessive about not letting the pot boil-over. That almost happened anyway when I added the first bag of hops -- it probably got within 1/8"! I also lost a little time because I didn't have enough ice to completely cool the wort and had to let it slowly cool the final 30 degrees or so. Things to remember for next time.

Anyway, I thought you might enjoy seeing some pictures of the journey. (And to anybody with experience that sees something grossly wrong, I'm definitely open to constructive criticism.)

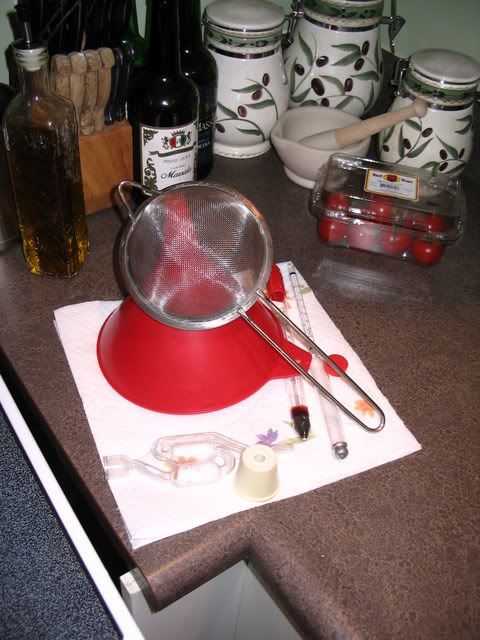
The Equipment

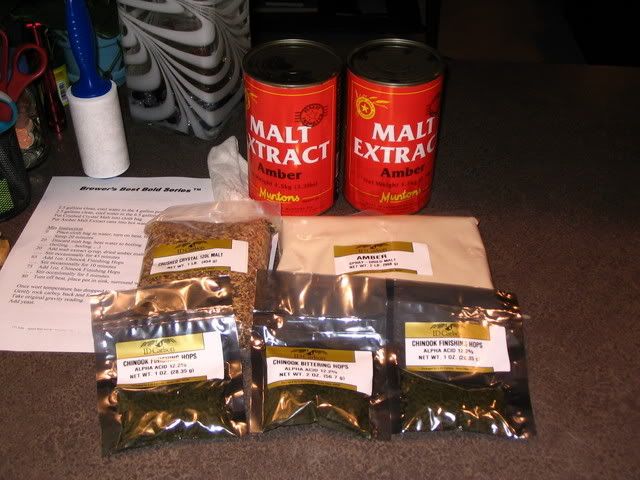
The Ingredients

Sanitized Accessories

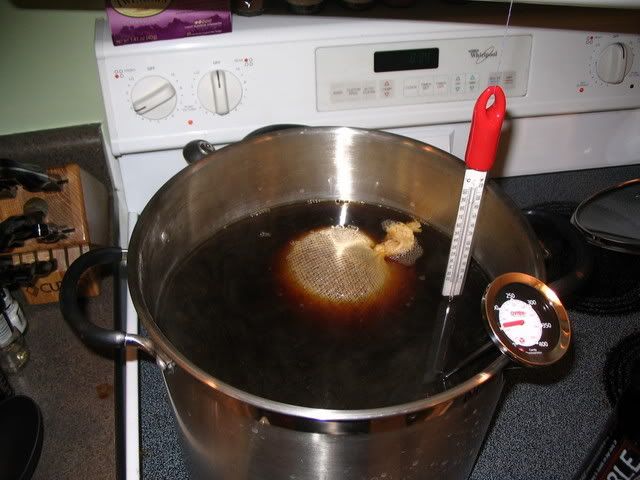
Steeping the crushed crystal malt

Bringing the malt extract to a boil

Hops smell good!

Boiling the hops (chinook)

Time for more beer, celebrating with a Double Bastard

Cooling the wort

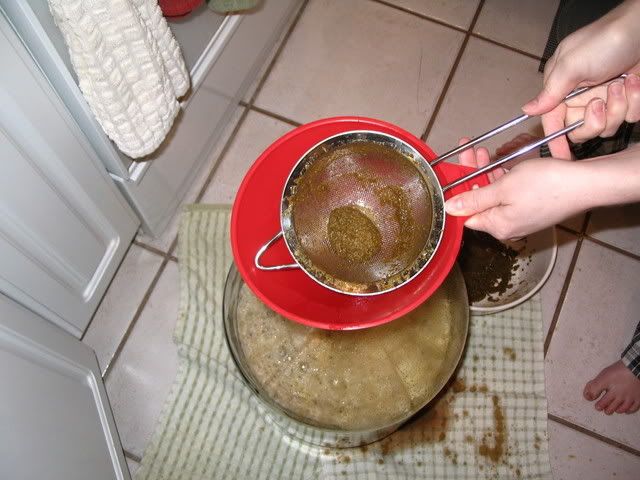
Straining the wort

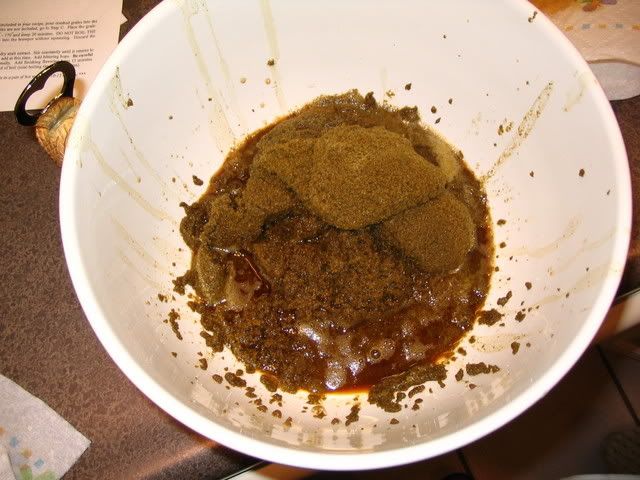
TRUB!

Hour 0

Hour 21

Monday, December 10, 2007

Beer: Relax. Don't worry. Have a homebrew!

I've been toying with getting into homebrewing for months. On Saturday, I finally decided to take the plunge and bought an equipment kit. I went to Great Fermentations, which, according to everybody I talked to, is definitely the place for rookie homebrewers in Indy. They've got three levels of introductory kits that differ in the quality of the fermenter and accessories. I'm pretty sure I'm going to love this and will be in it for the long-haul, so I went with the best kit they had. Some of the accessories are higher quality than the other kits but the main difference is that it comes with two glass carboys, one 6.5 gallon as the primary fermenter and one 5 gallon as the secondary fermenter. I don't think I'll need the secondary fermenter for my first couple batches, but I figure I'll be glad I have it in the long-run.

The kit also included a copy of The Complete Joy of Homebrewing by Charlie Papazian that I was going to buy separately anyway. It's an excellent beginners guide and is considered by many to be the bible of homebrewing.

Being that I live in an apartment, finding space for the carboy was a little tricky. I don't want a mess all over a bed, TV, or clothes in a closet if I screw something up and end up with a sticky beer explosion. Luckily we've got two bathrooms, one with a tub and one with a shower stall. The shower stall has been thoroughly cleaned and disinfected and is now my new brewery!

My first beer is from an ingredients kit called "California Style Imperial Pale." The people in the store said that's another name for double IPA, though it's described online as, "Our take on the popular Arrogant Bastard Ale." If mine comes out half as good as Arrogant Bastard, I'll be pretty pleased. I'll be making up the wort tonight and I'll keep you guys posted on my progress. I'm excited and a little nervous about screwing it up, but I keep reminding myself of Charlie Papazian's credo:

"Relax. Don't worry. Have a homebrew!"

Wish me luck!